Title
Paragraph title:
Section
- List item
Paragraph title:
Section
| Table head | Table head |
| Table data | Table data |
| Table foot | |


Adding live stone and sand:
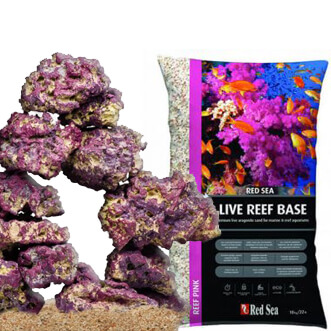
After maturing, the living stone can be added, the amount of which is different per tray and according to your preference. Living stone is so called because it is full of useful bacteria. Living stone should therefore always be kept wet because otherwise the bacteria die.
Always make sure that you buy healthy living stone. Often living stone is sold which is already quite "dead". Healthy living stone can be recognized by growth on the stone. There is also a lot of color in it.

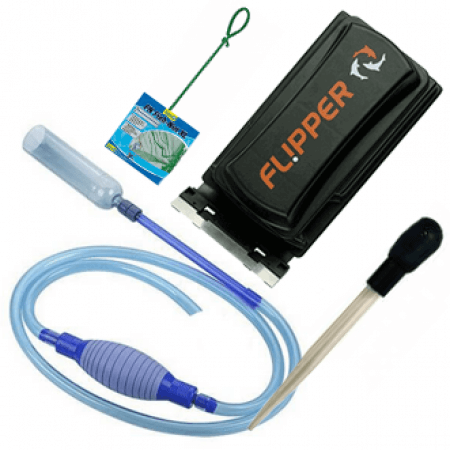
Ensure a stable construction, the stone can sometimes move a little so make sure that your built-up reef collapses, or falls over and the glass is damaged. Sand is added later because in the beginning a lot of dirt will come off the stone. Occasionally vacuum this dirt away.

In this phase you will also have to deal with silica algae. This alga causes a brown deposit on your window and turbid water. This is part of the start-up, so don't worry about it. The origin of this alga means that the container is further maturing. The nitrite cycle is now also underway. Measuring is of little use, because the values will be high, just as they should be at this stage. The water will usually stabilize around 2 weeks and the alga will disappear.

When no more dirt comes off the stone after about 2 weeks, and the pebble algae is greatly reduced, the sand can be added. We only add the sand now because it otherwise loses its clear white color due to the dirt and the algae. I myself am in favor of using live sand, again because of the good bacteria that are present in it. Light algae formation can occur again due to the structure of the bacterial culture. Now you can start removing the alga and the dirt every time it appears.
Uninvited guests:
With the living stone, a lot of life comes into your bowl. Some desired, others undesirable. After adding the living stone it is therefore advisable to keep an eye on the container and, especially in the evening, to look for uninvited guests with a flashlight. In addition to the bacteria on the living stone, eggs from animals or traces of corals and sponges can also come along.
Sponges come in many types. Most that you encounter during the start-up are white-colored tubes. These will mainly grow in shady places and under the stone. Sponges do no harm and are fun to observe. Sometimes you can already see whole pieces growing on the stone.


In addition, lime algae will also be formed, which is again beautiful and harmless. They are purple disc-shaped hard pieces of lime. What is good to know is that when you find a lot of this lime alga, you have to take into account that this alga absorbs the calcium in your aquarium for its growth. It may happen that you will have to add extra calcium.
Various algae will also grow. Purple curly whose appearance resembles stiff hair. You can best keep up with this. It can grow quickly and start to proliferate. Green stems will also emerge. These can do no harm and can leave you.
In addition to plants and sponges, animal life will begin to emerge. Many of these are a welcome and even necessary asset. However, there are also unwanted guests. Soon you can see very small animals crawling over the sand and stone. These can be copods or one-eyed lobsters. These animals do no harm and serve as food for your polyps and fish. The mandarin pipfish in particular eats it, but it should only be placed in the container after at least six months. More about this later. You can also find tubes that usually come with 1 or 2 tentacles. This is a snail species that can do no harm.

You will soon find worms, including the tube worm. This is a worm that lives in a self-made tube. On its head it has a kind of feather duster with which it filters food from the water. This worm can't hurt. His beautiful feather duster is often a feast for the eyes.

What can do harm in the tank are many other types of snails, but also crabs that can emerge. There are species of snails and crabs that can gnaw on coral. In addition, scratching can also make the stone more porous, which can cause the reef to collapse. It is therefore better for these animals to be removed directly from the container when they are found.
The brushworms are a separate story. These are worms with brushes on the body. Opinions are divided on brush worms. This is because brushworms are good cleaners of organic waste. However, they can leave hairs where they crawl. There are also species that are not reef safe and can therefore affect the corals. Certain types of weaker or sleeping fish can also be bothered. If you have the right kind in the box then the hairs can still be annoying when you are busy in the box and grab a worm like that by accident.
In addition, brush worms can also become very large. Specimens of more than one meter have already been found in containers. And if they are so large, they are of course no longer as safe for your fish. I am therefore in favor of getting them out of the box as much as possible. Never take a brush worm with your bare hand as the hairs can cause inflammation.

Of course there can also be crabs or snails that are safe. To help with identification, therefore, the following useful link:
https://www.lionfishlair.com/hitchhiker/hitchhiker.shtml
Measuring:
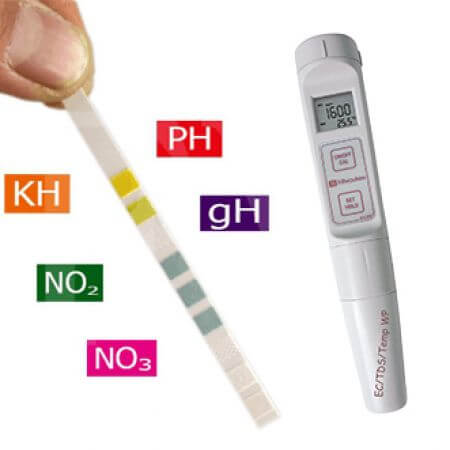
Once the silica algae has disappeared and the water is no longer turbid, you can really start measuring. For this it was already necessary to keep the salt value at 1,023 specific mass. The other values still fluctuate too much in the beginning to be able to measure relevant.
The most important values at this stage are the ammonia (k), nitrite and nitrate values. It is advisable to purchase a test case for this. You then have the most tests right away and are cheaper than buying everything separately.
If the above values remain stable, it is advisable to measure the other values and to make them stable. Don't forget the magnesium, this is an important building material for corals. If the values remain stable for 4 to 6 weeks (you are now in the 8 to 10th week) you can start with the first corals.

The first corals:
The first choice can be made here immediately. What kind of container do you want and what do you want it to be central. Not everything can be done together. If you choose to place an anemone or several anemones, it is best not to keep them with corals unless the container is large. This is due to the anemone nettle substances. In addition, an anemone also seeks its own way and sometimes wants to change places. If the anemone touches the corals, they will usually die. What goes well with anemones are polyps. At the bottom of this guide a photo of my anemone aquarium with polyps.
If you want an anemone in the aquarium, place it first. The anemone will look for a place itself and attach itself. Know, however, that an anemone can decide to sit somewhere else at any given time even after being in one place for a year.
If you want to stick with corals, it is advisable to start with the stronger species first. Leather corals are very strong and can have a lot. So place this first. It is advisable to wait a few more weeks for stony corals. The Calustrea is a strong stony coral to begin with afterwards.


The cleaning team:
You can use the clearing crew almost simultaneously with the first corals. However, never put too much in the aquarium at the same time, because every placement of fish and / or coral can cause the water values to fluctuate.
The cleaning team means that they fight the algae, clean up organic waste and keep the soil airy. There is the first fish, with a fascinating appearance. The Solarias, this beast is also called "Henkie" because of its crazy appearance. It is a good algae fighter, since its diet consists almost entirely of this.

Another good algae eater is the sea urchin. Be well informed here first because some sea urchins can become very large and can go through your reef like bulldozers. Mithrax crabs are also good algae eaters as well as turbo snails or a tenderloin. Look for what you like and which fits in your container.
In addition to these animals, you can also start by cleaning shrimp. When purchasing shrimp, pay attention to what you are taking. Not all shrimp are completely reef safe. There are dance prawns, which although they are very beautiful, can also affect your coral.
The fish:
When the corals and cleaning crew do well, and the water values remain stable, you can slowly place the first fish. However, do not do this every week, but take it easy. Read about the fish, some can be territorial and cannot be placed with quiet fish.
Some fish live on tiny creatures that live on the stone and in the sand. An example of this is the Mandarin pitivs. However, this fish eats throughout the day and so there must be enough present. This fish is often placed too early in the aquarium, causing it to die from malnutrition. For this type of fish it is advisable to wait until the tank is at least six months old. Then there is a greater chance that there is sufficient food for the animals. This fish is also not recommended for beginners.

Also read about the space they need. Take the doctor's fish, for example. A beautiful and fun fish that, according to most stores, can handle just about any container. But they become very large and in a small container the space for this fish will soon be too little.
It is therefore advisable to first make a list of what you want, and then put it on forums to inquire about the options. This prevents unnecessary fish mortality and stress in the fish.
A fish that often does well as the first fish is the well-known three-band anemone fish, or Nemo. Other anemone fish often grow larger and are more aggressive so they often have to be kept in a special aquarium.
The maintenance / different methods:
Now that everything is going well, we have to look after the care and watch out for unwanted growth. By unwanted growth I mean sub-anemones and glass anemones. These can come along as traces with every piece of coral that you place and can, if not smothered in the bud, form a whole scourge.
Fortunately, when you keep an eye on the bin, it is not too difficult to get rid of it. There are people who recommend the file fish. However, I do not recommend this fish. The filing fish diet only consists of glass and partial anemones. However, when they run out, the fish will get stressed and often will not survive. A better method is to inject the usury anemones. Do this by spraying a little natural vinegar into the foot or mouth of the anemone with a thin syringe. This sometimes has to be repeated several times.
Why don't we want these anemones in the bin? With regard to the partial anemones, it is a fact that they multiply so quickly that the other corals will no longer have a chance. Glass anemones are even worse. These anemones nettle very strong and corals can quickly die because of the nettle anemone. Also polyps are not resistant to a glass anemone for a long time.


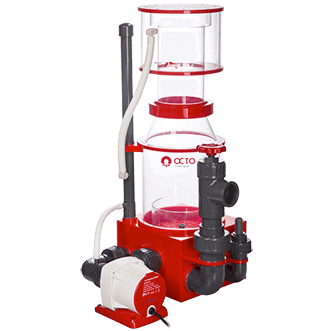
Further maintenance consists of extracting the soil, cleaning the protein skimmer, scraping algae or algae and scraping the windows and, of course, refreshing them. Although most will speak for themselves, there are several ways to refresh a marine aquarium.
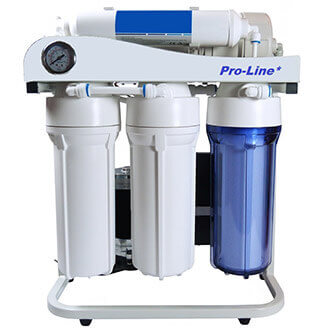
The water needs to be changed once a week. I change 20% water every week, which for me is the content of 1 large jerry can. I have purchased an osmosis device so that I can take care of it myself.

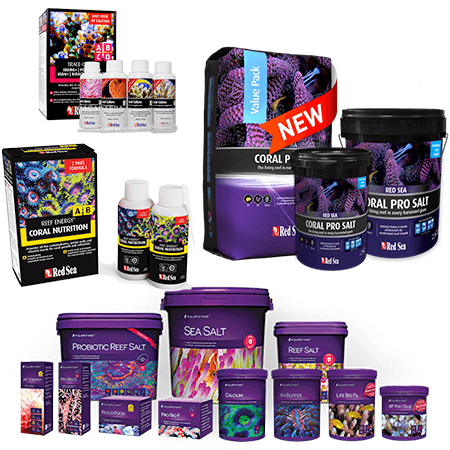
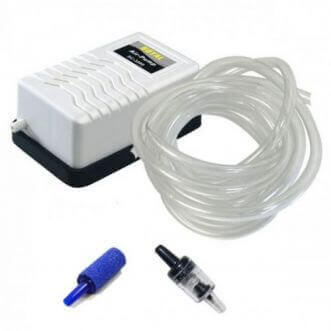
I make the water with a salt in which all values are balanced. The kh, magnesium and calcium values are therefore very stable because certain salts are additionally enriched with this. I make the water in a special trough which I only use for this. I do the mixing with the help of an oxygen pump. The water has to keep moving so that all salts can dissolve well. The dissolution takes about half a day to a day. However, always test the salt you use! Some salts are intended to be further made by yourself. My method of refreshing 20% works especially well with a small or medium-sized container.

With a larger tank, however, it is not a good idea to refresh 20% and this is often done using the DSR (Dutch Synthetic Reefing) method developed by Glenn. The water is measured every week and with the help of a file it is calculated what needs to be added. Sometimes, for example, the calcium or magnesium runs out faster. Then you need to add this to the aquarium. Of course after you first dissolved it in a smaller amount of water. More about this method can be read on the following website:
https://www.dsrreefing.nl/full_dsr.html
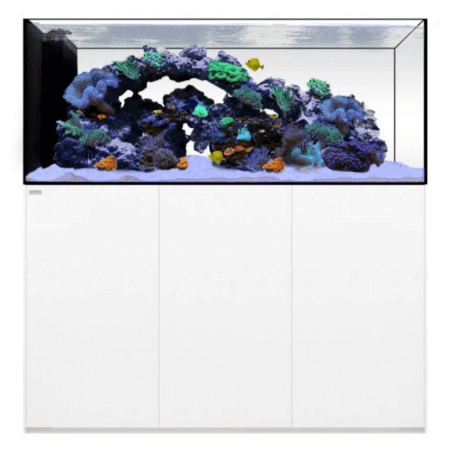
Below a photo of my anemones and polyp aquarium. This container is my showpiece and has been running for 9 months at the time of writing this article.

I hope to help you on your way in this beautiful hobby! I wish you good luck with the tank and hope you want to share beautiful pictures. If there are any questions, they can of course always be posted on the forum or with a message to me personally.
Show more informationShipment
-
Above € 50,- free delivery in NL & BE
Precision dosing syringe 100ml
163918021
Dr. Bassleer Biofish BF CHLORELLA
MU-140111
Silica Cartridge kit
OS-103665
AquaVitro Streight Spring Shears 15cm
Seachem - 7683
Fragel Frag Plugs
177226208


